


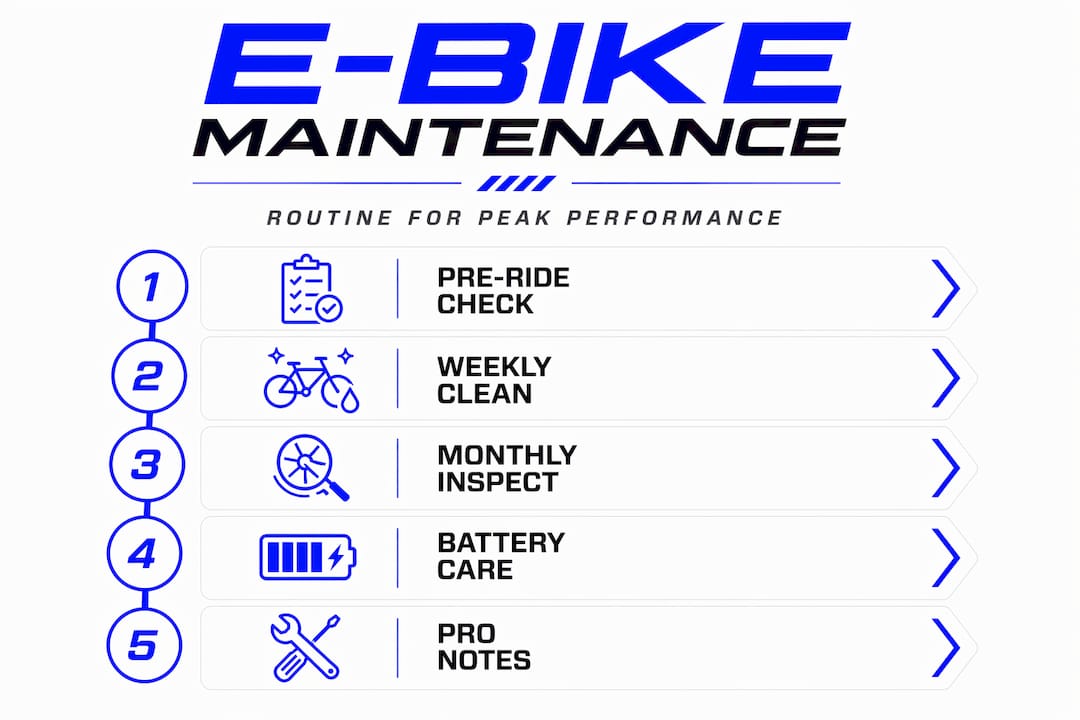
Electric bike maintenance guide for peak performance
Your Surron bogs mid-trail. Your Talaria’s brakes feel mushy after a hard descent. You pull over and realize you haven’t touched a wrench since you bought the bike. This is not a rare scenario. Electric motorcycles and off-road e-bikes are precision machines built around complex electrical systems, high-torque motors, and components that wear faster than most riders expect. Skipping even basic maintenance doesn’t just cost you performance. It can cost you safety, reliability, and eventually a repair bill that hurts worse than any crash. This guide walks you through every layer of upkeep, from a five-minute pre-ride check to monthly deep inspections, so your bike stays fast, safe, and dialed in.
Table of Contents
- What you need: Tools, safety, and scheduling basics
- Step-by-step: Essential pre-ride and weekly maintenance
- Monthly inspections: Fastener torque, drivetrain, and brake care
- Battery care: Maximizing lifespan and performance
- DIY versus professional servicing: Where to draw the line
- Our take: E-bike maintenance lessons from years on the trails
- Take your electric bike’s performance and reliability even further
- Frequently asked questions
Key Takeaways
| Point | Details |
|---|---|
| Routine is key | Following scheduled checks and cleanings is the single best way to extend the life and performance of your electric bike. |
| Battery health matters | Smart charging habits and temperature awareness can dramatically increase battery longevity. |
| Torque every bolt | Always tighten fasteners to manufacturer specifications using a proper torque wrench to prevent failures. |
| Understand your drivetrain | Recognize whether your bike has a hub motor or mid-drive to adjust chain and gear maintenance accordingly. |
| Know your limits | DIY the basics safely, but always defer complex hydraulic or electrical issues to professionals. |
What you need: Tools, safety, and scheduling basics
With the stakes set, let’s make sure you have the right gear and know the maintenance rhythm before you get hands-on.
You don’t need a full shop to maintain your e-bike well. You need the right tools, used consistently. Here’s what belongs in every e-bike owner’s kit:
Core tools and supplies:
- Metric hex (Allen) key set: 2mm through 10mm covers the vast majority of fasteners on Surron, Talaria, and 79Bike platforms
- Torque wrench: Critical for stem bolts, brake mounts, axle nuts, and motor mounts
- Tire pressure gauge: Even minor pressure loss changes handling dramatically on off-road bikes
- Chain lubricant: Specifically formulated for e-bike chains, which carry more load than standard bicycle chains
- Biodegradable degreaser and brushes: Keep drivetrain components clean without damaging seals
- Gloves and eye protection: Non-negotiable when working around high-voltage battery systems
Once you have the tools, the key is building a rhythm. A practical e-bike maintenance approach combines a short pre-ride safety check with a reliable recurring schedule covering weekly, monthly, and periodic professional tasks. Missing the schedule is where most riders fall apart.
| Frequency | Task focus | Time required |
|---|---|---|
| Pre-ride | Tires, brakes, battery, lights | 5 minutes |
| Weekly | Chain cleaning, lube, visual bolt check | 15 to 20 minutes |
| Monthly | Torque check, drivetrain, brake pads | 45 to 60 minutes |
| Every 6 months | Full tune-up | 2 to 3 hours |
| Annual | Complete disassembly inspection | 3 to 4 hours |
This rhythm doesn’t demand much time per session. What it demands is consistency. If you want to stay ahead of e-bike trends in 2026, the riders doing it right are treating maintenance as part of the riding lifestyle, not an interruption to it.
Pro Tip: Set a recurring phone reminder for your weekly check every Sunday night. Catching a loose bolt or a dry chain before Monday’s ride takes two minutes. Catching it on the trail can ruin your day.
Step-by-step: Essential pre-ride and weekly maintenance
Now that you’re set up, here’s exactly how to execute the routine everyone should follow, from quick safety checks to regular weekly tasks.
This is where consistency pays off. A quick pre-ride check takes less time than gearing up, and it catches the issues that turn into emergencies. Follow this sequence every time you roll the bike out.
Pre-ride checklist (5 minutes):
- Check tire pressure. Off-road e-bikes typically run 12 to 18 PSI depending on terrain. Low pressure kills cornering confidence and increases pinch flat risk. High pressure reduces traction on loose ground.
- Squeeze both brakes. Each lever should feel firm and stop the wheel cleanly before bottoming out. A spongy lever on hydraulic brakes is a warning sign, not something to ride through.
- Check battery charge level. Never start a ride below 20%. Starting near empty puts stress on cells during the high-demand pull of acceleration.
- Inspect lights and controls. Confirm your display, throttle response, and any riding modes function correctly before you hit the trail.
- Quick visual scan. Look for any visibly cracked components, shifted parts, or damage from the last ride.
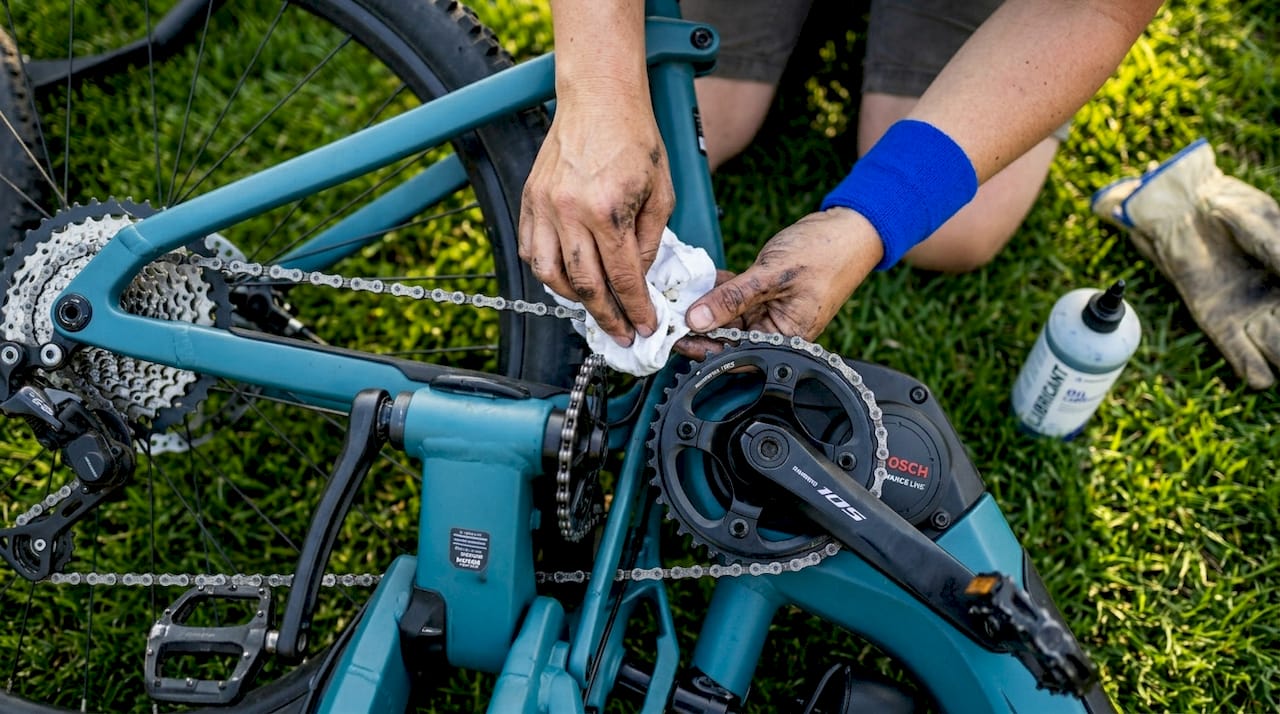
For weekly maintenance, chain care is the priority. A dirty, dry chain on a high-torque electric motor wears out far faster than one on a pedal-only bike because the motor delivers consistent, hard power rather than the variable effort of human legs. Clean the chain with a degreaser and brush, wipe it down, and apply lubricant to each link while slowly rotating the cranks or rear wheel. Wipe off excess lube after application. Excess lube attracts dirt, which accelerates wear.
A weekly cleaning and lube routine paired with a visual bolt check is the minimum standard for any e-bike ridden more than once per week. If you’re pushing your bike hard or riding in mud, increase frequency. For those thinking about upgrading e-bike hardware or planning sessions using off-road e-bike tips, a clean, properly lubed drivetrain is the foundation everything else builds on.
Pro Tip: Print a simple checklist and keep it in your gear bag. It sounds low-tech, but it eliminates the mental shortcut of “I probably checked that.” You either checked it or you didn’t.
Studies on bicycle component wear show that unlubricated chains lose functional life up to three times faster under motorized load conditions compared to properly maintained chains. That’s not an abstract stat. On a bike that costs $3,000 or more, chain and sprocket replacement costs add up fast when you skip the basics.
Monthly inspections: Fastener torque, drivetrain, and brake care
Once your weekly routine is set, here’s how to dive deeper with monthly maintenance that truly extends your e-bike’s lifespan.
Monthly maintenance is where you catch the slow-developing problems that weekly checks miss. Vibration gradually loosens fasteners. Brake pads wear incrementally. Bearings develop play. None of this happens overnight, but all of it becomes a serious problem if left unchecked.
Fastener torque: The most underrated maintenance task
Using a torque wrench isn’t optional on modern e-bikes. For fastener and component safety, always torque critical parts to the manufacturer’s specified values rather than relying on feel. This matters even more on bikes with carbon fiber components or aftermarket parts where the tolerances are tighter and the consequences of over-torquing are significant.
Common torque values to check monthly include:
- Stem and handlebar clamp bolts
- Brake caliper mounting bolts
- Motor mount bolts (especially on mid-drive setups)
- Axle nuts front and rear
- Footpeg and footrest bolts on off-road variants
Mid-drive versus hub motor maintenance differences:
| Feature | Mid-drive motor | Hub motor |
|---|---|---|
| Drivetrain wear | Higher: motor forces pass through chain | Lower: motor is self-contained in wheel |
| Chain inspection | Every week minimum | Every 1 to 2 weeks |
| Gearing maintenance | Regular; sprocket wear is accelerated | Minimal; no external gearing |
| Bearing check | Monthly; motor bearings under high load | Quarterly; hub bearings are robust |
| Cost of neglect | High: chain, cassette, and chainring | Moderate: hub bearing replacement |
Brake inspection for e-bikes specifically
“E-bike braking systems often need more frequent inspection than on typical non-electric commuter bikes because e-bikes are heavier and put more demand on brakes.” — Bicycling Magazine
That increased demand is real. A Surron Light Bee S weighs nearly 50 kilograms. A loaded Talaria Sting MX can be heavier. All that mass requires substantial stopping power, and the pads and rotors absorb that energy every single time you brake. Inspect pad thickness monthly. If you see less than 1.5mm of pad material, replace before the next ride, not after.
For riders running advanced e-bike brake options, keep records of your torque checks and pad measurements in a notebook or app. Tracking trends over time tells you whether wear is accelerating, which is often the first sign of a rotor alignment issue or a caliper problem. Custom wheel maintenance follows the same principle: document what you find so you can spot patterns, not just individual problems.
Pro Tip: Record the date, torque readings, and pad measurements in a notes app every time you do a monthly check. After three months, you’ll have real data on wear rates specific to your riding style and conditions.
Battery care: Maximizing lifespan and performance
E-bike reliability hinges on its battery, so let’s break down battery maintenance that will save you serious money and headaches.
The battery is the most expensive single component on your e-bike and the most sensitive to neglect. Most riders charge it without thinking, ride until it’s low, and repeat. That habit shortens battery life significantly.
Key battery maintenance habits:
- Avoid deep discharges. Recharge before you hit 15 to 20% remaining charge. Lithium cells degrade faster when regularly drained to low levels.
- Keep daily charging in the moderate range. Avoiding frequent deep discharges and keeping charge levels between 20% and 80% for daily use reduces cell stress and preserves long-term capacity.
- Never charge a frozen battery. Charging below 0°C (32°F) can cause internal damage that accumulates over time. Let the battery warm to room temperature first.
- Store at 50 to 60% if unused. If you’re shelving the bike for more than a few weeks, store the battery at a partial charge level, not full and not empty. Full storage charge accelerates chemical aging.
- Inspect connectors monthly. Look for corrosion, loose pins, or melted plastic around connector housing. These signal resistance buildup that generates heat and degrades performance.
Battery capacity loss of 20% or more over two years is common when riders ignore these practices. Following them consistently, many quality lithium packs retain 80% or more of original capacity after 500 charge cycles.
Understanding battery types and specs for your specific platform helps you buy the right charger and set realistic expectations. For riders who push harder, exploring off-road battery upgrades for higher-capacity packs can also be part of a smart long-term strategy.
Pro Tip: Use a smart charger with a timer or auto-cutoff function to prevent accidental overnight overcharging. Some riders plug in at 10pm and forget. A charger that stops at 80% or full charge protects your pack while you sleep.
DIY versus professional servicing: Where to draw the line
To cap off your home maintenance plan, here’s how to know when to hand things over to a professional.
There’s a clear boundary between what confident riders should handle themselves and what demands a trained technician. Crossing that line in the wrong direction wastes money on unnecessary shop visits. Crossing it the other way risks your safety and your warranty.
Safe DIY tasks:
- Pre-ride safety checks
- Chain cleaning and lubrication
- Tire pressure checks and adjustments
- Visual bolt checks and basic torque checks
- Battery connector cleaning and inspection
- Brake pad visual inspection
- General cleaning and corrosion prevention
Tasks that belong in a shop:
- Hydraulic brake bleeding (requires correct fluid, tools, and procedure)
- Complex electrical faults and controller diagnostics
- Motor bearing replacement
- Fork service and suspension rebuilds
- Any deep disassembly involving the motor or controller housing
“A balanced approach is to DIY what’s safe (cleaning, lubrication, visual inspections) and defer specialized tasks (hydraulic service, electrical diagnostics, disassembly) to trained mechanics.” — Levy Electric
This is especially important for warranty considerations. Many manufacturers will void coverage if they find evidence of unauthorized disassembly or improper servicing on sealed components. Before you crack open anything beyond basic access panels, check your warranty terms. For riders who want to go deeper into what’s safe and what’s rewarding to customize yourself, the DIY e-bike mods guide is a useful resource for finding that boundary confidently.
Our take: E-bike maintenance lessons from years on the trails
All of this advice comes from both research and field-tested experience. Here’s what years of wrenching and customizing have taught us.
Most guides treat maintenance as a generic to-do list. The real lesson is that maintenance becomes more complex and more critical the moment you start modifying your bike. When you add aftermarket brakes, upgrade wheels, swap controllers, or run non-stock tires, you change the forces acting on every connected component. That means stock torque specs may no longer be enough. Wear patterns shift. Compatibility between new parts and existing components needs active monitoring.
We’ve seen riders put serious money into modifying e-bike hardware and then skip the documentation and follow-up checks that make those mods safe over time. The upgrade adds performance. The neglect takes it away, or worse, causes a failure at the worst possible moment.
In our experience, torque discipline and battery habits alone prevent more than 80% of the costly failures that send bikes to shops prematurely. These aren’t glamorous skills. But they separate riders who keep riding from riders who keep repairing. The other thing most owners overlook is system-level compatibility. Adding a new brake caliper to a worn rotor, or swapping a chainring without checking chain wear, creates problems that aren’t obvious until something fails. Track what you change, when you change it, and what the condition was before and after. That documentation is your early warning system.
Take your electric bike’s performance and reliability even further
Ready to boost your bike’s reliability and trail confidence? Here’s where experienced owners go for components and expertise.
Maintenance keeps your bike running. The right upgrades make it run better and last longer. Brakes and drivetrain components are wear items, and upgrading them proactively with proven, rider-tested parts is how performance riders stay ahead of failures rather than reacting to them.

At Revline Mods, we stock high-performance components built specifically for Surron, Talaria, and 79Bike platforms. Whether you’re ready to install an Ultra Bee Brake Kit for more consistent stopping power, browse the full range of performance brake parts, or explore everything available for your platform, you’ll find parts chosen by riders who understand the demands of real-world off-road riding. Visit Revline Mods to find your next upgrade and keep your build performing at its best.
Frequently asked questions
How often should I schedule a full tune-up for my electric bike?
A complete tune-up is recommended every six months, with a full disassembly inspection annually for most e-bikes used regularly.
What happens if I forget to torque bolts to spec on my e-bike?
Incorrect bolt torque can lead to sudden component loosening or dangerous riding conditions. Always torque critical parts to the manufacturer’s specified values using a proper torque wrench.
How can I prevent my e-bike battery from losing capacity over time?
Avoid deep discharge by recharging before 15 to 20%, keep daily charging between 20% and 80%, and store the battery at 50 to 60% charge if not riding for extended periods.
Are mid-drive and hub-motor e-bikes maintained differently?
Yes. Mid-drive motors require more frequent drivetrain checks because motor power passes directly through the chain and gears, accelerating wear compared to hub motor setups.
What’s the most overlooked aspect of e-bike brake maintenance?
Because e-bikes are heavier, brake pads and rotors need more frequent inspection and replacement than on standard bicycles, especially for riders pushing hard on descents or carrying extra weight.