


Electric Bike Wheel Replacement Process Made Easy
You’re mid-ride when you hear that familiar hiss. Or maybe you’ve been putting off a wheel upgrade because the whole process looks intimidating. The wheel replacement process on an electric bike is genuinely different from swapping a wheel on a standard bicycle, and those differences matter. You’re dealing with motor wiring, heavier axle hardware, and brake systems that punish you for rushing. This guide walks you through every phase of changing electric bike wheels safely and correctly, from grabbing your tools to your first post-install test ride.
Table of Contents
- Key Takeaways
- Gathering tools and preparing for the wheel replacement process
- Removing the old wheel step by step
- Installing the new wheel and finalizing assembly
- Post-installation checks and common issues to fix
- My honest take on DIY wheel replacement
- Upgrade your ride with Revlinemods wheels and brakes
- FAQ
Key Takeaways
| Point | Details |
|---|---|
| Power off before anything | Always shut down the bike and remove the battery before touching any wiring or hardware. |
| Motor wiring needs special attention | Replicate the original cable routing and zip tie positions to prevent wiring contact with rotors or tires. |
| Axle torque is not optional | Loose axles cause motor and controller failure; correct torque settings are a safety requirement, not a suggestion. |
| Disc brakes: leave the caliper alone | Focus on rotor clearance during the swap rather than opening or adjusting the caliper itself. |
| Test before every real ride | Inflate to spec, check brakes, and run a short low-speed test before riding at full pace. |
Gathering tools and preparing for the wheel replacement process
Getting this phase right saves you from stopping halfway through because you are missing a 15mm wrench. Preparation is where most DIY wheel swaps go sideways before they even start.
Tools and materials you need
| Tool/Material | Purpose |
|---|---|
| 15mm or 17mm cone wrench/socket | Loosening and tightening axle nuts |
| Tire levers (plastic, 2-3 pieces) | Removing tire bead without damaging rim |
| Floor pump with pressure gauge | Inflating to correct PSI after reinstall |
| Replacement tube or tire | The actual repair or upgrade component |
| Allen key set (4mm, 5mm, 6mm) | Brake caliper bolts and ancillary hardware |
| Needle-nose pliers or zip tie cutter | Managing motor wiring and cable management |
| Torque wrench | Tightening axle nuts to manufacturer spec |
| Work stand or soft mat | Stabilizing the bike during disassembly |
| Mechanic’s gloves | Protecting hands; improving grip on greasy parts |
Beyond tools, your workspace setup matters. A clean, flat surface with room to maneuver the wheel is better than a cramped garage corner. Good lighting is not a luxury here. You need to see the wiring clearly.
The first physical step is powering off the bike completely and removing the battery. This is non-negotiable. Power off and remove the battery before touching any connectors or hardware, because live wiring on a hub motor system can cause real damage to your controller. Next, shift the drivetrain to the smallest rear cog. This gives you the most chain slack, which makes rear wheel removal significantly easier.

Pro Tip: Before you disconnect anything, take three or four photos of the motor wiring routing from different angles. You will thank yourself during reinstallation when you need to match every zip tie anchor and cable bend exactly.
Removing the old wheel step by step
This is where e-bike wheel repair diverges most sharply from a regular bike. The motor adds weight, wiring, and complexity. Work through these steps deliberately.
-
Flip or stabilize the bike. Place it upside down on the handlebars and saddle, or put it on a work stand. Rear hub motor wheels are heavy. Controlling the drop when the axle releases matters for both your safety and the wheel’s integrity.
-
Disconnect the motor wiring. Locate the motor connector, typically a waterproof multi-pin plug routed along the chainstay. Unplug connectors and cut zip ties carefully, noting every anchor point. Do not yank or pull at angles. Connectors release with a straight pull or a press-tab release depending on the model.
-
Release the brakes. For rim brakes, open the brake quick release on the caliper. For disc brakes, the approach is different. Avoid opening disc calipers unless you have a specific reason. The rotor simply slides out of the caliper gap when you remove the wheel, and the piston gap is already wide enough on a properly set up system.
-
Loosen the axle nuts. Hub motor axles use solid axle nuts rather than quick-release skewers on most performance e-bikes. Use the correct size socket or cone wrench. Loosen both sides evenly rather than fully removing one side before the other, to keep the axle from binding in the dropout.
-
Manage the chain tensioner. This is the step that catches people off guard. Chain tensioner spring tension makes the component want to snap forward the moment you release the axle. Hold the tensioner body with one hand while you ease the wheel out with the other. On derailleur systems, shift to the smallest cog first, then guide the chain off the cassette as the wheel comes free.
-
Extract the wheel. Pull the axle straight out of the dropouts. If it feels stuck, check for torque plates or anti-rotation washers that need to be removed first. These small metal tabs are common on hub motor systems and prevent the axle from spinning under power.
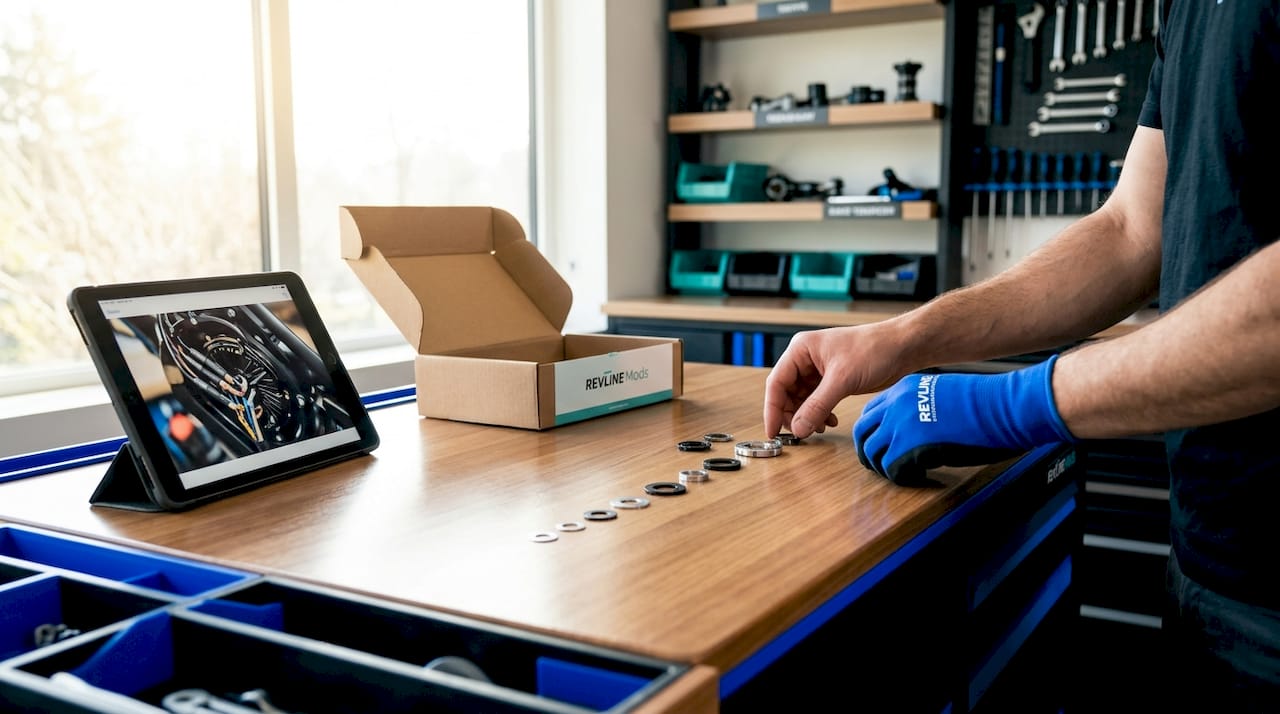
Pro Tip: Lay out every small part, including washers, spacers, and torque plates, in the exact order you removed them on a clean rag. Reinstalling these in the wrong sequence is one of the most common mistakes in a rear hub motor wheel swap.
Following model-specific manufacturer guidance for your exact bike ensures you are not missing any bike-specific hardware steps during removal.
Installing the new wheel and finalizing assembly
This phase is about precision. Everything you do here directly affects whether the bike rides safely or develops problems on the road.
-
Orient the new wheel correctly. The motor cable exit and brake rotor side must match the original configuration. Wheel orientation on brake and gear sides is a common installation error that causes shifting and clearance problems. Double-check before the axle goes anywhere near the dropouts.
-
Seat the axle in the dropouts. On horizontal or semi-horizontal dropout systems common on e-bikes, push the axle fully to the rear of the dropout slot. This maintains chain tension and ensures the motor sits at the correct chainline.
-
Route the motor wiring. Refer to your photos from the removal stage. Correct motor wire routing prevents wiring contact with the brake rotor or tire sidewall during wheel travel. Reinstall zip ties at the original anchor points and reconnect the motor plug with a firm, straight push until it clicks or seats fully.
-
Reinstall washers, spacers, and torque plates. Reverse the order from your removal sequence. Every spacer has a purpose, often related to axle load distribution or keeping the motor from rotating.
-
Torque the axle nuts. This step separates a safe wheel installation from a dangerous one. Incorrect torque or loose axles cause motor and controller failure and create real safety hazards. Check your bike’s manual for the specified torque value. Most hub motor axles fall between 30 and 40 Nm, but always verify. If you want a deeper understanding of why this number matters, the relationship between axle torque and component longevity is worth reading before you pick up the wrench.
-
Check rotor clearance and brake caliper alignment. Spin the wheel slowly by hand. The rotor should pass through the caliper without any rubbing or ticking sounds. If you hear light rubbing, loosen the caliper mounting bolts slightly, allow the rotor to center the caliper, then retighten.
| Installation check | What to verify |
|---|---|
| Motor wiring | No contact with rotor, tire, or chainstay |
| Axle nut torque | Tightened to manufacturer spec (typically 30-40 Nm) |
| Rotor clearance | Free spin with no rubbing through caliper |
| Chain engagement | Sits properly on smallest cog with no skipping |
| Wheel centering | Rim runs true with no lateral wobble |
Pro Tip: When checking wheel alignment, make sure the quick release or axle clamp is fully locked before you evaluate trueness. Partial clamping during alignment checks gives you a false reading and you will chase a problem that does not actually exist once the axle is fully tightened.
Post-installation checks and common issues to fix
You are close, but this final phase is what separates a complete job from a liability. Take your time here.
- Inflate to the correct tire pressure. Check the tire sidewall for the pressure range. Seat the bead evenly by inflating slowly, pausing at 20 PSI to visually confirm the bead is seating uniformly around the rim, then inflating to the target pressure.
- Test the brakes before rolling anywhere. Squeeze each brake lever firmly while stationary. The wheel should lock immediately. If the lever pulls all the way to the bar, the brakes need adjustment before you ride.
- Verify the motor connection. Power the bike on and check that the display recognizes the system normally. A motor connector that is not fully seated will often show an error code or simply provide no pedal assist.
- Check chain and derailleur function. Run through the full gear range while turning the cranks by hand. Each shift should be clean. Hesitation or skipping usually means the chain tension or rear derailleur limit screws need a slight adjustment.
- Do a short, controlled test ride. Ride at low speed in a safe area before hitting the trail or road. Test rides after reinstallation verify chain and brake alignment under real load conditions that a stationary check cannot fully replicate.
The most common post-install mistake is skipping the wiring check because the bike powers on fine. A connector that is seated 90 percent of the way will work initially and fail under vibration on the trail. Push every connector fully until it clicks, then tug gently to confirm it is locked.
A DIY wheel repair saves you real money compared to shop labor, which can run $60 to $125 for the service alone. That saving is only real if the job is done correctly the first time.
My honest take on DIY wheel replacement
I have watched a lot of riders tackle the wheel replacement process on their electric bikes with confidence, and then undo all of that good work by rushing the wiring reconnection at the end. It is always the last step that gets skipped. After an hour of careful work, people just want to ride. That impatience is where problems start.
In my experience working with Surron, Talaria, and 79Bike platforms, the motor wiring step is genuinely the thing that separates a five-minute job from a day of troubleshooting. When you replicate the original cable routing exactly, including every zip tie position, you are not being obsessive. You are honoring the engineering decisions the manufacturer made to keep that wiring clear of rotating parts. One poorly routed cable against a spinning rotor will slice through insulation in under a mile.
What I have also learned is that doing your own wheel swaps builds real confidence in your bike. You start to understand how the whole system fits together. That knowledge pays off every time you do an upgrade or diagnose a problem. The riders who know their bikes best are the ones who have taken them apart. Check out the custom electric wheel benefits if you want to understand what becomes possible once you are comfortable with the swap process.
Start with a front wheel if you are new to this. It is lighter, simpler, and gives you a clean confidence-builder before you tackle the rear motor wheel. Once you have done it twice, the whole process takes under 30 minutes.
— Revline
Upgrade your ride with Revlinemods wheels and brakes

If this guide got you thinking about more than just a basic repair, Revlinemods has what you need to take the next step. The 17" OEM Supermoto Wheelset is built specifically for the electric off-road and performance segment, fitting popular platforms and delivering real performance gains over stock hardware. Pair it with the Ultimate Ultra Bee Brake Kit for a complete upgrade that matches stopping power to wheel performance. Every product ships fast, and the Revlinemods catalog covers Surron, Talaria, and 79Bike builds from wheel to brake to hardware. For a full picture of keeping your e-bike in top shape, the e-bike maintenance guide covers everything beyond the wheel swap.
FAQ
How long does a wheel replacement take on an e-bike?
Most riders complete a rear hub motor wheel swap in 30 to 60 minutes once they are familiar with the process. Front wheel replacements typically take 15 to 20 minutes.
Do I need special tools for an electric bike wheel swap?
You need a torque wrench and the correct axle nut socket size in addition to standard bike tools. Hub motor axles require specific torque values that a standard wrench cannot reliably deliver.
Can I damage the motor by removing the wheel myself?
Yes, if you handle the wiring incorrectly or seat the axle at the wrong torque. Loose axles and incorrect wiring are the two most common causes of motor and controller failure during DIY wheel replacements.
Should I adjust the disc brake caliper during a wheel swap?
Generally, no. Focus on rotor clearance and proper wheel seating rather than opening the caliper. Opening hydraulic calipers unnecessarily can cause rubbing or piston retraction problems that require a full bleed to fix.
How do I know if my wheel is properly aligned after reinstallation?
Spin the wheel slowly and watch the gap between the rim and brake caliper. The gap should stay consistent with no lateral wobble. Fully lock the axle clamp before checking, since partial clamping produces misleading alignment readings.